Home Automation - Part 1
Overview
Technologies:
- HomeBridge
- Synology DS920+ NAS
- Docker
- Apple HomeKit
- Arduino Mini Pro
- Doppler Motion Detectors
What is all this About?
This the first part in a series!
I really could care less if my home is fully integrated with the Internet, I don't need smart blinds, smart garage doors, a smart fridge, nor a smart toaster.
For years I only had a Ring doorbell and two outside Security cameras from Ring, that's all I wanted. Last month I purchased the Orbit B-Hyve Smart Sprinkler controller due to my current Orbit Not Smart controller, which is probably about 16 years old started flaking out, and that sparked some other ideas.
I'm just having some fun and blogging about it here!
One of the main reasons I wanted to build this project was due to there are around 3-4 cats coming into my yard all the time leaving presents. Then there is this funny looking cat, all black with a white stripe down it's back and it smells funny. Sometimes it smells too funny. Sometimes this funny looking cat brings a couple of his friends.
I tried the battery operated motion activated sprinklers for a while but they always leaked, wasting a lot of water. Yes, they worked great at keeping the animals away but constantly leaked throughout the night. This was not good, we are headed into drought conditions again and they are costing me more money in the long run.
I feel using my existing sprinkler system is much more beneficial, no extra equipment required (other than the arduinos and Doppler Motion detectors), no need to run a hose across my yard, helps to water my lawn, and causes no harm to the animals.
Setup HomeBridge
There are a couple of different ways to get HomeBridge
-
I initially installed HomeBridge by downloading it directly from the Docker registry but I had some issues with this approach. I chose to install by downloading the .spk and then adding it as a Docker Image.
-
Download the .spk from https://github.com/oznu/homebridge-syno-spk/releases/tag/1.3.0
Docker
If you do not have a NAS, you can run HomeBridge on a computer or a Raspberry Pi, the device just needs to be on all the time and connected to your home network.
My examples will be based on my Synology DS920+ NAS
We need to install Docker if it is not already installed.
- Open Package Center and install Docker
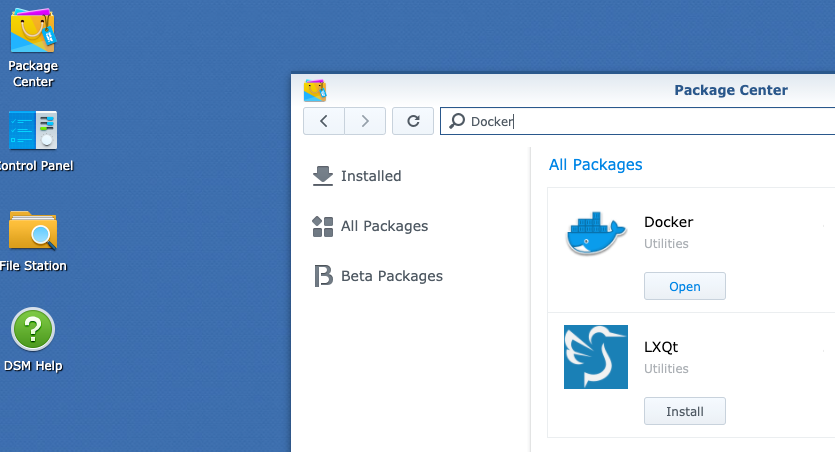
- Open Docker
- Click the Image tab
- Click the Add dropdown and choose Add From File and upload the .spk you just downloaded.
Setup the HomeBridge Container
After the image is created, if it is running stop it.
First create a docker folder in File Station then create a homebridge folder in the docker folder
Go back to Docker and select the HomeBridge Container and click Edit
In the General Settings tab, I checked the box next to Enable auto-restart.
Volume tab

Port Settings are not required
Links are not required
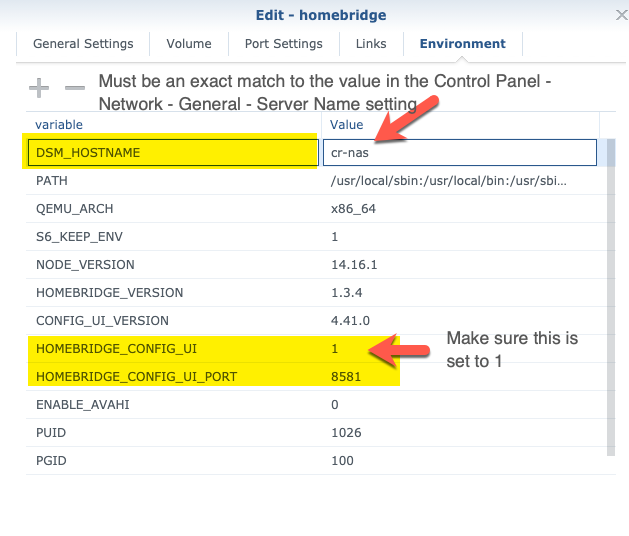
Setup the Firewall Profile
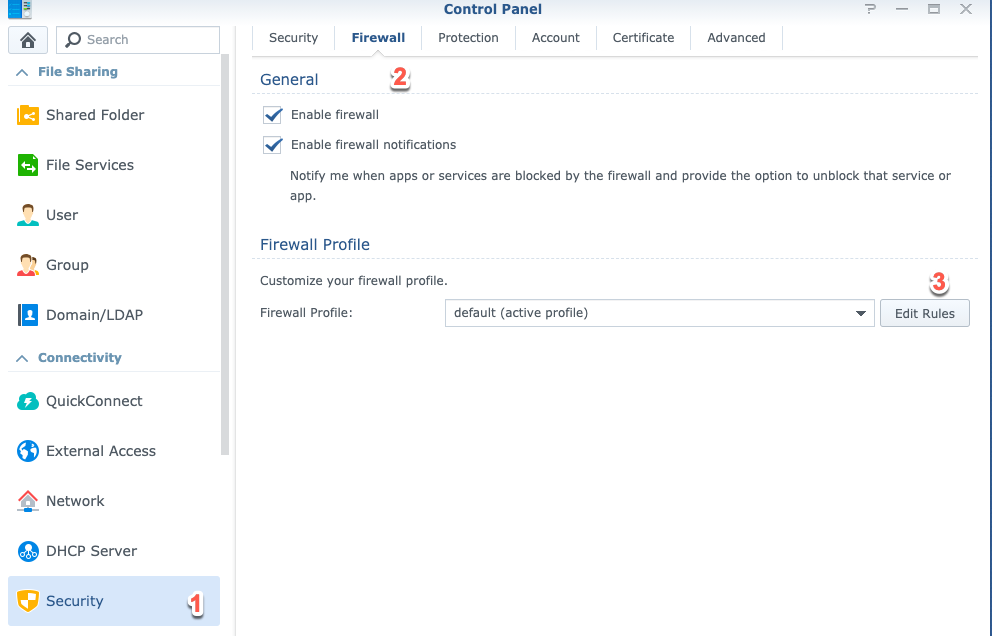
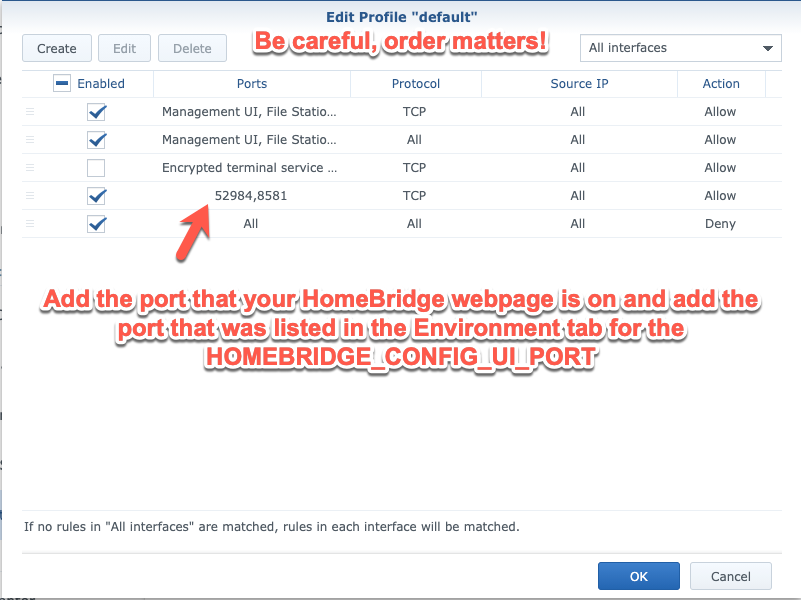
Make sure to restart the HomeBridge container in Docker!
Now you should see the HomeBridge button under the Main Menu and be able to navigate to your HomeBridge control panel.
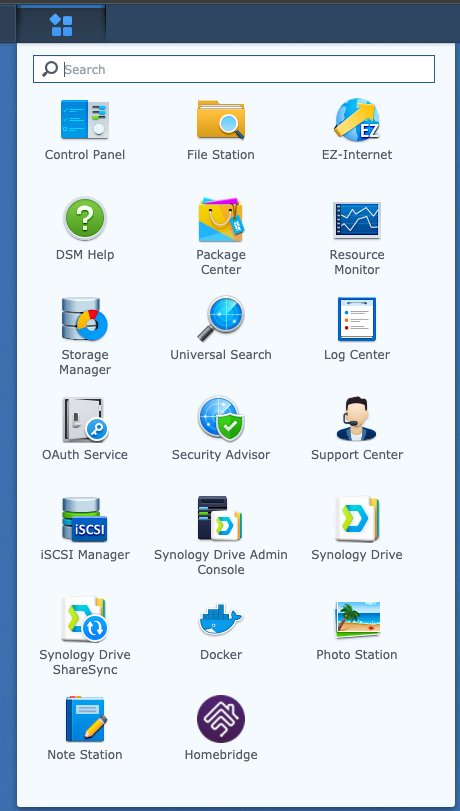
You should see
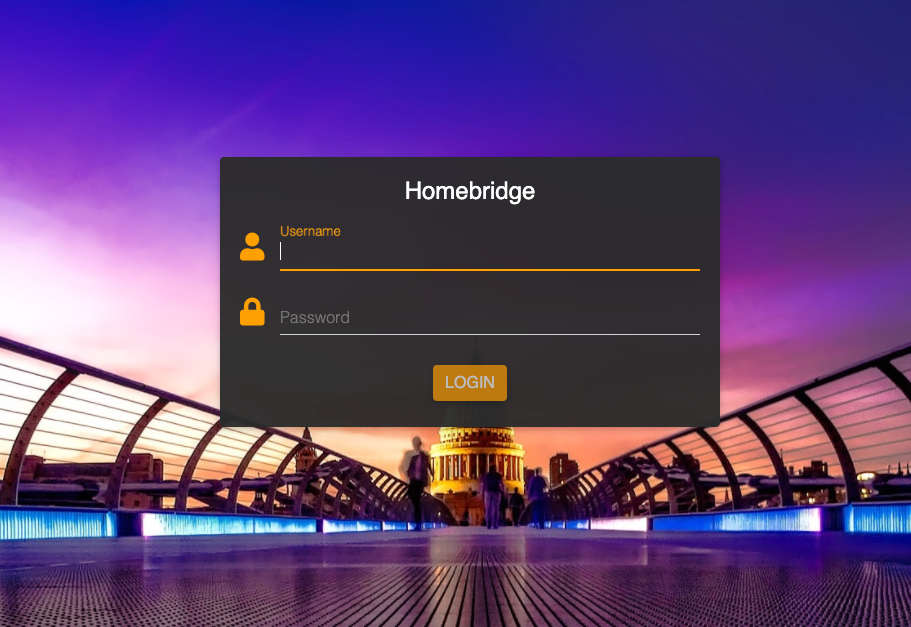
The default Username and Password = admin
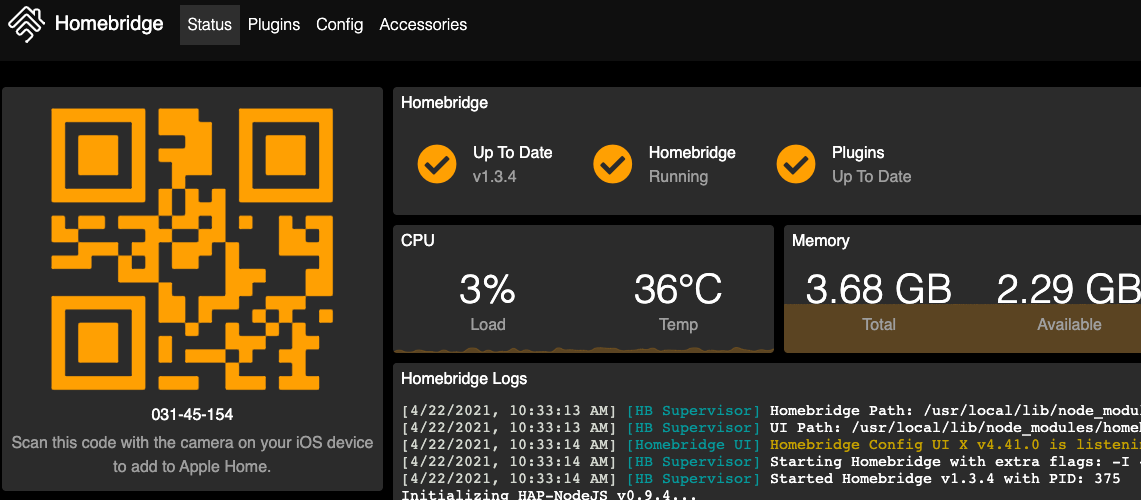
More to follow as time allows!